Although we’re well past the days when it was routine for most folks to plug their iPhones into their computers, there are still reasons why you may prefer to do so, especially if you don’t want to pay for or rely on cloud storage for everything. For example, it’s generally the best way to go if you want to back up your iPhone to your computer or transfer photos directly onto your Mac or PC. It may also be necessary to use your computer to restore your iPhone back to factory settings when it’s acting up.
Ordinarily, your iPhone should show up in Finder or iTunes as soon as you connect it. If you’re running macOS 10.15 Catalina or later, it will appear alongside your removable devices in Finder, while on Windows and older versions of macOS you’ll need to look for it in iTunes.
The process of managing your iPhone from your computer is nearly identical whether you’re using Finder or iTunes — as are the steps to take in the event your iPhone doesn’t appear the way it should when you plug in it.
Apple
Trust your computer
The first time you connect your iPhone to your computer, you’ll need to respond to a prompt and enter your passcode to confirm that you “trust” the computer you’re connecting to. This is an important security requirement to prevent someone from grabbing your iPhone and getting at your data by plugging it into another computer.
Depending on the version of macOS or iTunes that you’re running, your computer may not “see” your iPhone until you’ve done this, so it’s the first thing you should check if your iPhone isn’t showing up in Finder or iTunes.
Step 1: Make sure your iPhone is unlocked.
Step 2: Connect your iPhone to your computer.
Step 3: When the “Trust This Computer?” pop-up appears, select Trust.
Don’t worry if you accidentally selected “Don’t Trust” instead; just disconnect your iPhone and reconnect it and the prompt should come up again.
Note that you’ll be prompted to re-trust your computer if you haven’t connected to it in more than 30 days. You can also remove all trusted computer relationships by going to the Settings app on your iPhone and selecting General > Reset > Reset Location & Privacy; however, this will also reset all of your location permission settings for apps like Weather and Maps.
Christine Romero-Chan / Digital Trends
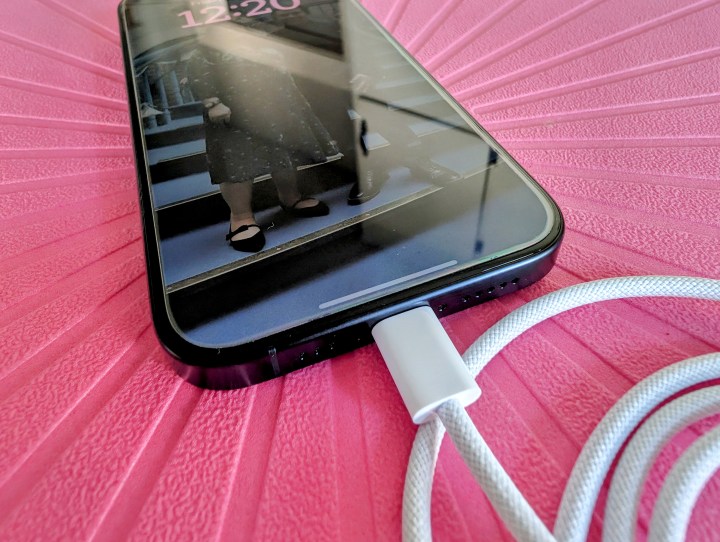
Try a different USB cable or USB port
The iPhone may be a pocket-sized computer, but it’s also just another USB device as far as your Mac or PC is concerned. That means a bad USB cable or port can be all it takes to get in the way of a good connection.
Step 1: First, try connecting to a different USB port to see if that makes a difference. Avoid using a USB hub or the USB port on a display; connect directly to a port on your computer. If you’re using a desktop PC, try using a port around the back, as these are more likely connected directly to the motherboard compared to front ports that are often extended via inside wires.
Step 2: Check the USB-C or Lightning port on the bottom of your iPhone to ensure it’s free or any debris that could be affecting the connection.
Step 3: Try a different USB cable. If you’re using an iPhone 15 model, any certified USB-C cable should do the trick. For older iPhone models, you’ll be stuck dealing with Lightning cables, which may be harder to find lying around your house unless you’ve bought more or have other Apple devices that included them. In either case, try to avoid using cheaper aftermarket cables or those that are designed exclusively for charging as they may not properly handle the necessary data signals.
Step 4: Try connecting your iPhone to another computer with the same cable. If it shows up there, then the problem is likely with the your Mac or PC. If you’re using Windows, this could be a driver problem. Check Windows Update or your PC manufacturer’s website to see if there are any driver updates.
Mateusz / Pexels
Restart your iPhone and computer
It may sound cliché, but sometimes turning things off and back on again actually works.
Step 1: Disconnect your iPhone from your computer.
Step 2: Restart your Mac or PC in the usual manner, by going to the Apple menu on a Mac and selecting Restart or opening the Start menu on Windows, selecting the Power icon and choosing Restart.
Step 3: Restart your iPhone by holding down the side button and volume buttons together until Slide to power off appears and then sliding from left to right. On an iPhone SE or an older model with a home button, you can get to this screen by pressing the side button by itself.
Once the iPhone shuts down, press and hold the side button until the Apple logo appears and wait for it to start up again.
Step 4: Log in to your Mac or Windows PC and unlock your iPhone and then try connecting the USB cable again.
Szabo Viktor / Unsplash
Update your software
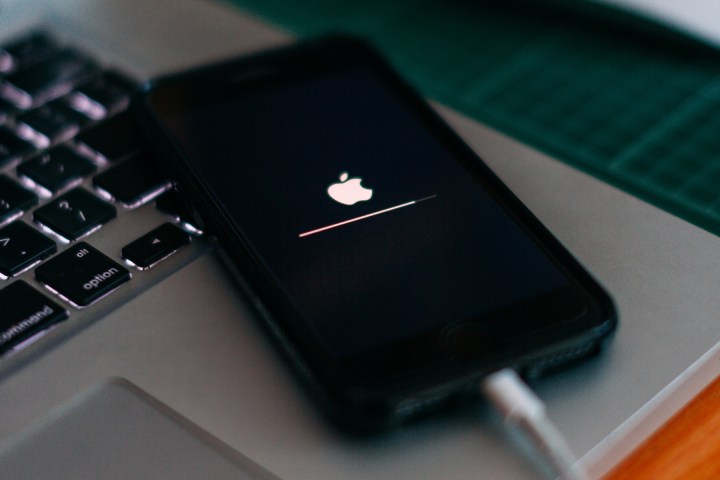
It should go without saying that you should always be running the latest version of iOS that your iPhone supports. Not only does each new iOS release fix bugs that could be impacting your USB connection, but it also includes important security fixes that you really don’t want to be without.
The same also applies for macOS on your Mac or Windows on your PC. In the latter case, you should also visit your PC manufacturer’s website and confirm that you have the latest drivers installed, particularly for things like your chipset and motherboard, which typically include USB-related drivers.
Here’s how to check for software updates:
- On your iPhone, open the Settings app and choose General > Software Update.
- On macOS Ventura or later, select the Apple logo in the top-left corner, choose System Settings from the menu, and then select General > Software Update.
- On earlier versions of macOS, select the Apple logo in the top-left corner, choose System Preferences from the menu, and then select Software Update.
- On Windows 11, choose the Start menu and then select Settings > Windows Update > Check for updates.
- On Windows 10, open the Start menu and choose Settings > Update & Security > Windows Update > Check for updates.
Digital Trends
Check your Wi-Fi network
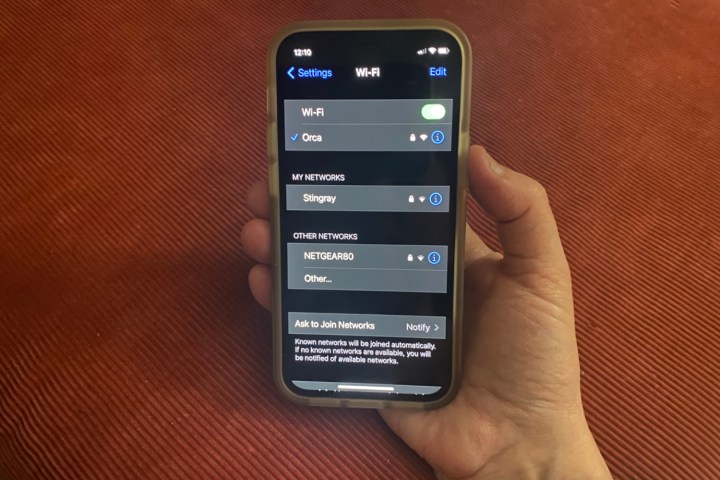
While most folks use a USB cable to connect their iPhone to their computer, it’s also possible to sync your iPhone with your computer over Wi-Fi. In this case, your iPhone should show up in Finder or iTunes whenever it’s connected to Wi-Fi and on the same network as your computer.
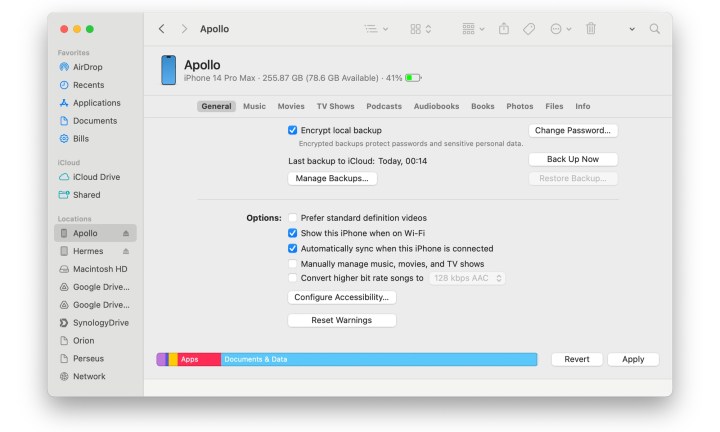
Step 1: First, connect your iPhone to your computer with an appropriate USB cable and select it in Finder or iTunes. Go to the General tab and scroll down to confirm that a checkmark appears beside Show this iPhone when on Wi-Fi. If not, select the checkbox and click the Apply button in the bottom-right corner. Even if you’ve done this before, it’s worth checking again as sometimes this setting can be switched back off by an iOS, macOS, or iTunes update.
Jesse Hollington / Digital Trends
Step 2: Disconnect your iPhone. If it disappears from Finder or iTunes when you unplug it, confirm that your iPhone and Mac or PC are still connected to the same Wi-Fi network.
If your Mac or PC is using a wired Ethernet connection, ensure that it’s connected directly into your Wi-Fi router, not through any other hubs or switches or into a cable modem that’s separate from your router.
Step 3: Temporarily disable any firewall or other security software on your Mac or PC. If your iPhone shows up once your firewall is switched off, you’ll need to either leave it off or consult the documentation for your particular security software for the steps to create an exception to allow iTunes syncing. Specifically, you’ll need to ensure that TCP ports 123 and 3689 and UDP ports 123 and 5353 are open.
Step 4: See our guide on how to fix the most common Wi-Fi problems for other possible solutions.

Apple
If your iPhone won’t connect to your Windows PC
Windows presents a few additional challenges that could get in the way of connecting your iPhone, since iTunes is a standalone app that relies on having the necessary USB drivers in place and working properly. While you should still run through the other steps above, if those fail to get your iPhone showing up, there are a few Windows-specific things you can try as well.
Step 1: Ensure that iTunes is up to date. For Windows 10 and Windows 11, iTunes is now distributed through the Microsoft Store, so you can check for updates there to make sure you have the latest version installed.
Step 2: In some cases, the standalone version of iTunes 12 works better than the one found on the Microsoft Store. To try this, first remove the Microsoft Store version and then download and install iTunes 12 from Apple’s website.
Step 3: As noted earlier, ensure that your system drivers are fully up to date, including any chipset, motherboard, or USB drivers.
Step 4: Check for updates to the Apple Mobile Device USB Driver by right-clicking the Windows Start Menu and selecting Device Manager. Open the Universal Serial Bus controllers sub-menu and then right-click on Apple Mobile Device USB Driver and select Update Driver to check for a newer version.
If Apple Mobile Device USB Driver doesn’t show up here, you’ll need to fully remove and reinstall iTunes to re-add it.
Contact Apple Support
If all else fails, we recommend reaching out to Apple Support. They may know of a specific issue or have some additional troubleshooting steps you can try. If you live near an Apple Store, you can also schedule an appointment to bring your iPhone and computer in so they can take a hands-on look at the problem.
Editors’ Recommendations




)
