There are multiple item combinations in Vampire Survivors that will help you survive 30 minutes of non-stop enemy waves. As you move on to tougher maps and fight stronger enemies, you might find that some of your go-to item combinations aren’t as effective anymore.
To help you survive, here are some of the best item combinations in Vampire Survivors that will help you survive in the advanced and bonus stages.
How to Unlock Weapon Evolution Combos in Vampire Survivors
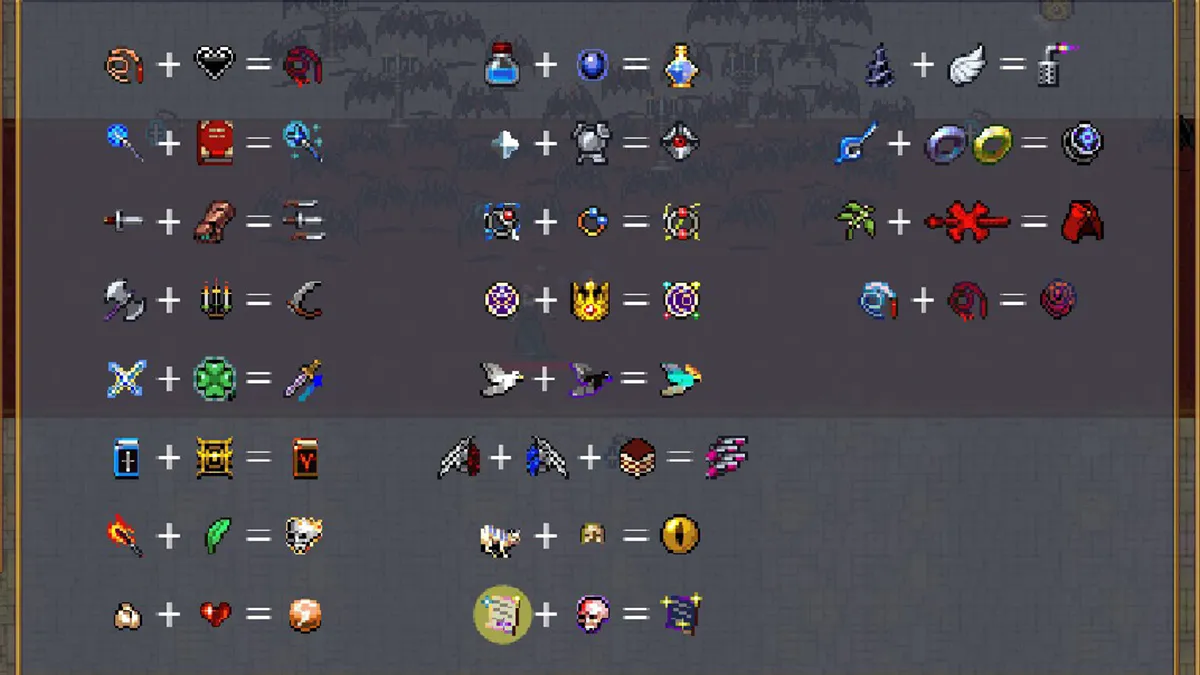
To unlock weapon evolution combos in Vampire Survivors, it’s not enough to simply choose and hold each required item in your inventory. Instead, you’ll need to level up your weapon and its combo item before the two items will combine.
You’ll need to at least get the base weapon to its max level. With a maxed-out weapon and its combo item in hand, you’ll then need to kill an elite monster that spawns on the map and open the treasure chest it drops. Instead of giving you a random upgrade, this treasure chest will evolve your base weapon as its first reward as long as you meet the item combo requirements.
Item combo requirements can be checked in your weapon evolution guide on the pause menu, which you can unlock on the Inlaid Library map by following the large green arrow. As long as you’ve unlocked one of the combo items previously, it should appear in your guide.
The Best Item Combos to Use While Playing Vampire Survivors
While these item combinations are tried and tested, you still have to watch your surroundings and not make any silly mistakes/get caught off guard. The list is organized by power and priority, going from most effective to least effective. However, since weapon selection is randomized when leveling up, as long as you get something on this list ASAP, you can work your way up the list.
1) Mannajja – Song of Mana + Skull O’Maniac
The Song of Mana is an area-of-effect column weapon, which will devastate weaker enemies. If you are able to upgrade it to the Mannajja, you will be able to hit enemies in a large spherical area around you, and you can slow enemies if the attack hits them. Paired with the Candelabrador, you will be able to hit/destroy many enemies before they can even get to you, giving you precious breathing room.
2) Unholy Vespers – King Bible + Spellbinder
Unholy Vespers is capable of blocking projectiles and damaging enemies who get too close (if they aren’t already stun-locked by the effect). While some enemies can still slip through, you can take care of any stragglers with other weapons. If paired with the Candelabrador as well, the area of the Unholy Vespers goes up, hitting enemies further away from you.
3) Death Spiral – Axe + Candelabrador
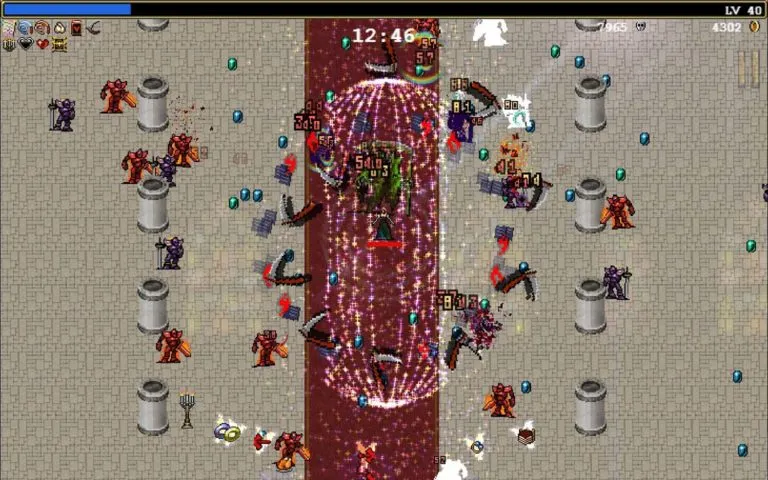
The Death Spiral is one way to overcome the weakness of the Unholy Vespers. Since the Death Spiral starts from the center, it can push back enemies who manage to bypass the Unholy Vespers, as well as hurt enemies who haven’t been finished off by Mannajja. Since the Spiral affects the whole map, it won’t matter where enemies are coming from.
Getting the Candelabrador will also help every other weapon you obtain since it increases the radius of some weapons (i.e., Mannajja, Unholy Vespers) while making other weapons larger (i.e., Whip, Bloody Tear).
4) Soul Eater – Garlic + Pummarola
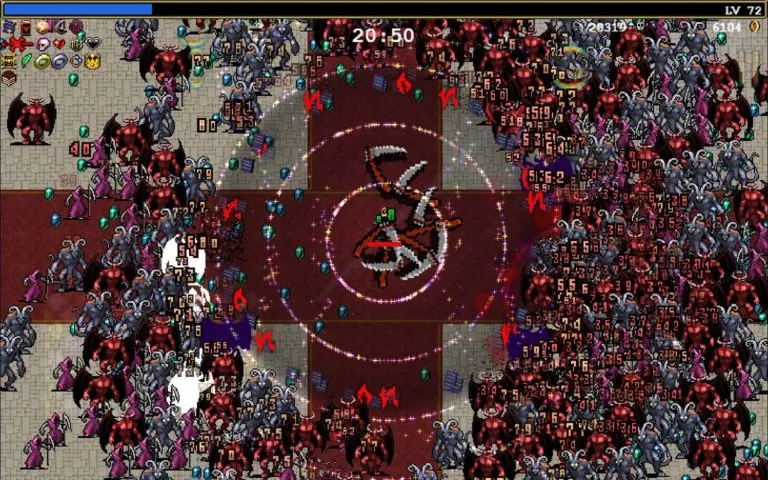
Soul Eater will hurt enemies who get close and give you a way to recover health. It shares the same area as Unholy Vespers and will be crucial for pushing back enemies to make sure Unholy Vespers can keep doing damage.
If enemies get past Unholy Vespers, Soul Eater can give you enough time to move around anyone who gets too close.
5) Bloody Tear – Whip + Hollow Heart
Bloody Tear is a great way to heal since its attack radius does reach past Unholy Vespers/Soul Eater. Combined with Soul Eater, you can potentially heal all damage taken without needing to search for Floor Chickens. It is also great for dealing targeted damage to glowing/dangerous enemies that drop Treasure Boxes since you can move around to hit them with Bloody Tear.
6) Fuwalafuwaloo – Bloody Tear + Vento Sacro
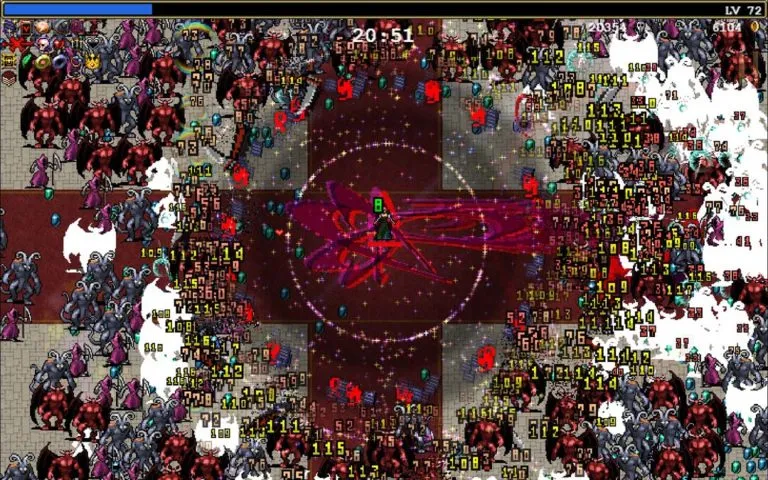
The benefit of Fuwalafuwaloo is that the Whip attacks will now surround your character while hitting either the left or right direction (depending on where your character is facing). This attack also keeps the critical hits and life drain of the Bloody Tear while potentially causing explosions with its critical hits.
The Vento Sacro will merge with the Bloody Tear, allowing you to choose another weapon to fill the newly-opened slot. It’s perfect for another item combination, provided you found another acceptable accessory.
7) NO FUTURE – Runetracer + Armor
Runetracer projectiles bounce around the nearby area, passing through enemies and dealing damage. NO FUTURE takes that even further by making the projectiles explode when they bounce around and if you get damaged.
Unfortunately, as the projectile movement is random, it isn’t as great as the other items in keeping enemies at bay. But the Armor accessory will be great for helping you survive for longer periods of time, in case enemies slip through.
8) Holy Wand – Magic Wand + Empty Tome
You don’t need the Holy Wand but the Empty Tome effect. The Empty Tome reduces weapon cooldown and increases the attack rate of your weapons. It won’t have any effect on Unholy Vespers, but it will speed up the rest of your attacks (the Mannajja, Death Spiral, Soul Eater, Bloody Tear/Fuwalafuwaloo).
You can get the Empty Tome if you like; the Holy Wand itself can be great for stragglers, but the other weapons should do the job just fine.
9) Hellfire – Fire Wand + Spinach
Just like the Holy Wand, you’re not actually after Hellfire itself, but the damage bonus from Spinach. As enemies get tougher and stronger, Spinach is a great way to even the playing field and make sure enemies still fall to your attacks.
You can get lucky with Hellfire’s attacks, but you will most likely rely on the damage boost from Spinach than the weapon itself.
10) Crimson Shroud – Laurel + Metaglio Left + Metaglio Right
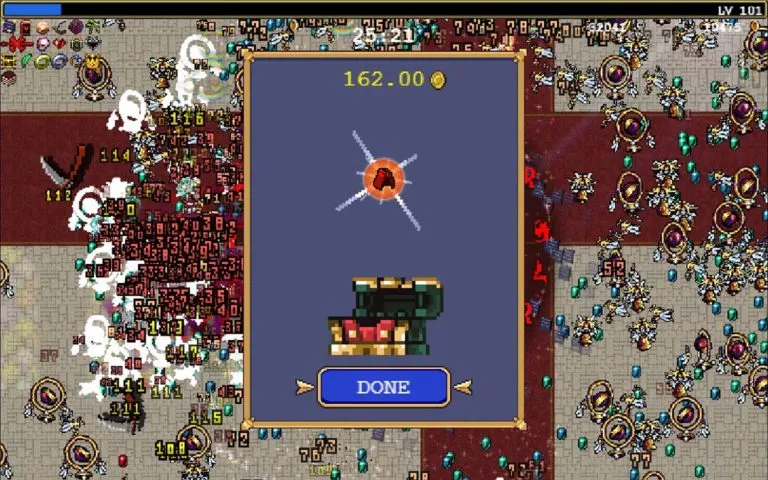
This is a difficult item to obtain but has great defensive usage, which is why it is at the end of the list. Unlike other item combinations, all three items must be at their maximum level before you can get the Crimson Shroud.
The Crimson Shroud caps the damage you can take at 10, meaning enemies can’t deal more than that while it is active. Once Laurel’s shield wears off, it will hurt enemies who attack you. It should only be taken if you are truly prioritizing your ability to survive.
11) Bracelet > Bi-Bracelet > Tri-Bracelet
The Bracelet is a unique weapon that can upgrade independently after six upgrades. It is a powerful weapon that needs time to build, but it starts by hitting three targets at once. With upgrades, it begins to deal large amounts of damage, even before it gets upgraded to its future forms.
When it gets upgraded to Bi-Bracelet, it starts piercing through more enemies. After six more upgrades, the Bi-Bracelet can evolve into the Tri-Bracelet, whose upgrades are all about damage. It’s perfect if you have a spare slot due to Fuwalafuwaloo or Peachone.
12) Sole Solution – Victory Sword + Torrona Box
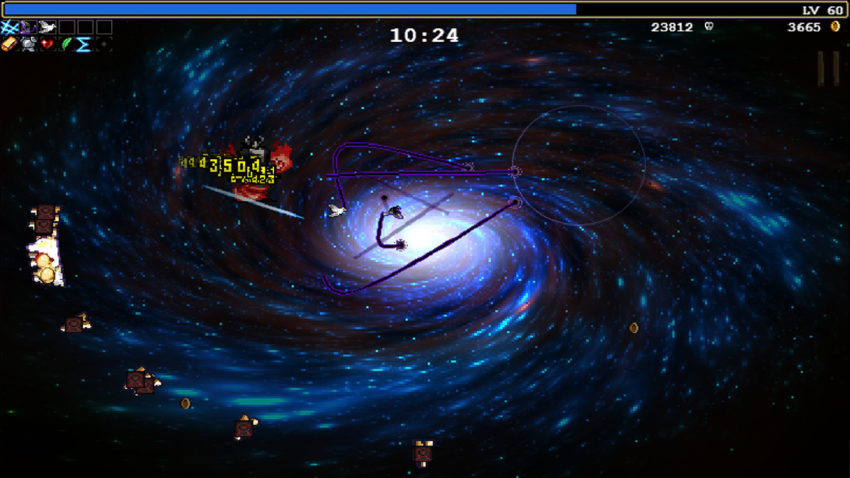
The Victory Sword is one of the most powerful weapons in the game. It has fast attack speed, great damage, and a short cooldown. With some characters, it’s possible to clear the game with it being your only weapon (i.e., Sigma). As it gets upgraded, the damage increases. At the eighth upgrade, it can deal critical damage and even produce a finisher slash with every five slashes.
The Torrona Box is the upgraded accessory for the Victory Sword, and both need to be maxed out before you get the Sole Solution. The Sole Solution will appear as a swirling galaxy on-screen, damaging everything while leaving you invulnerable. The best part is that you don’t lose the Victory Sword after getting the Sole Solution, allowing you to inflict large amounts of damage continually.
13) Ashes of Muspell – Flames of Muspell + Torrona Box

The Flames of Muspell are somewhat weak initially; they will need some upgrades to start building power. Fully upgraded, its cooldown decreases, and its power increases, allowing you to decimate waves of enemies.
You get the Ashes of Muspell when fully upgraded alongside a fully upgraded Torrona’s Box. The attack speed is far greater, but it also gets stronger as you defeat more enemies (with the weapon). This can quickly escalate into an unstoppable attack that rips through tough bosses like butter.
With these Vampire Survivors item combinations, you should be able to clear any map with any character. These item combinations are perfect for clearing unlock challenges requiring time limits, characters reaching Level 99/100, or clearing bonus stages. Give them a try, and you can unlock everything in the game with enough patience.

