Even though most modern Android phones come with a broad assortment of built-in ringtones — a Google Pixel with Android 14 offers 127 to choose from — you may prefer something a bit more specific to represent your personal style. Thankfully, customization is the name of the game in Android, and that extends to adding you own custom ringtones.
The good news is that it’s also pretty easy to do. Unlike using a custom ringtone on an iPhone, Android smartphones let you pull in just about any MP3 or other compatible (and non-copy-protected) audio file directly from local storage and use it as a ringtone.
That means you can download an MP3 in your browser and assign it as a ringtone straight from your downloads folder. You don’t need any extra software or a PC involved in the process unless you want to edit the MP3 file. However, there’s no limit on the length of your ringtone, so if you’re going for the opening riffs in GNR’s Sweet Child O’ Mine or the Stones’ I Can’t Get No Satisfaction, you’ll be good to go.
For other songs, you may want to trim off the beginning so you hear your favorite part right away when the phone rings. Check out our companion guide on how to create and set custom ringtones for more information and some suggested apps to help you with that.
While MP3 is the most common format for ringtones, Android also supports ringtones in the M4A, WAV, and OGG formats.
Dennizn / Shutterstock
How to download a song on your Android phone
The first thing you need to do before setting a song as a custom ringtone is get it onto your smartphone. Android only lets you assign ringtones from local folders, not cloud storage services.
Note that the file selection screen that appears when looking for a ringtone will let you browse Google Drive and other connected cloud services, so you can see audio files in those places, but you won’t be able to select them from there. That doesn’t mean the audio file isn’t compatible; it’s just that you have to copy it to local storage before you can use it.
Thankfully, it’s not too hard to transfer an audio file onto your phone.
Step 1: If the song you want to use as a ringtone is available on a website, you can download it using Chrome.
Step 2: If the music file is already stored in Google Drive, open the Drive app, locate the song, tap the three-dot menu, and select Download.

Jesse Hollington / Digital Trends
Step 3: You can also transfer files over from your PC or Mac via USB, Bluetooth, or Quick Share (formerly known as Nearby Share).
Andy Boxall / Digital Trends
How to set a song as your ringtone on Android
Once you’ve downloaded or transferred the song you want to use, you need to assign it as a ringtone. The method for this varies slightly between different flavors of Android, but here are the steps for stock Android 14 running on a Google Pixel.
Step 1: Open the Settings app.
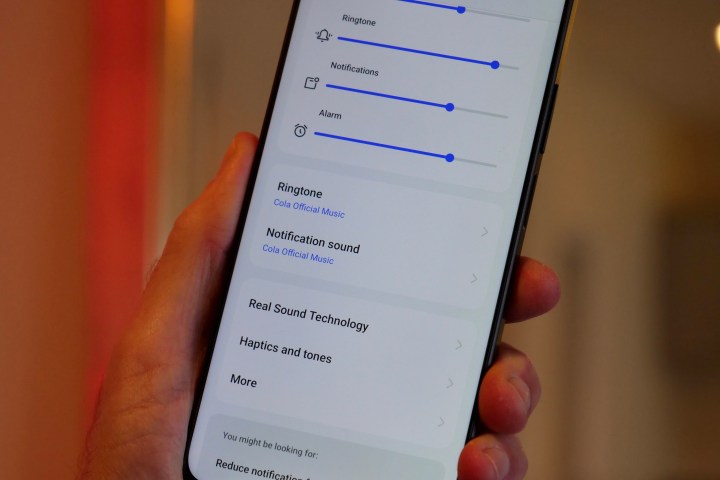
Step 2: Select Sound and vibration.

Jesse Hollington / Digital Trends
Step 3: Choose Phone ringtone.

Jesse Hollington / Digital Trends
Step 4: Select My Sounds. This will show a list of any custom ringtones you’ve already added, along with a “None” option if you’d rather enjoy the sound of silence.

Jesse Hollington / Digital Trends
Step 5: Choose the plus button in the bottom-right corner to add a new ringtone.

Jesse Hollington / Digital Trends
Step 6: The local file browser will open, showing you a list of recently added files by default. If you’ve just downloaded or transferred your ringtone, it should appear here. If you don’t see it, choose the hamburger menu in the top-left corner and select Audio or Downloads to browse for it.

Jesse Hollington / Digital Trends
Step 7: Once you’ve located the song you want to use as a ringtone, select it. You’ll be returned to the My Sounds screen.

Jesse Hollington / Digital Trends
Step 8: Your new ringtone should appear here. Select it to hear a preview, and choose Save in the top-right corner when you’re finished.

Simon Hill / Digital Trends
How to remove a custom ringtone
Once you’ve added a custom ringtone, it will remain in the “My Sounds” section, even if you choose a different one. Unfortunately, there’s no way to remove a ringtone directly from here once you’ve added it.
While there’s not much harm in leaving a ringtone on the list, if you want to clean things up, you’ll have to remove the ringtone file manually using the Files app. Again, the steps for this vary between different Android phones, but here’s how it’s done on a Google Pixel.
Step 1: Open Files on your phone.

Jesse Hollington / Digital Trends
Step 2: Scroll to the bottom and select Internal storage.
Step 3: Browse to Android > media > com.google.android.soundpicker > Ringtones.
This folder contains all the custom ringtones you’ve added. Note that audio files are copied here; the originals are still in your downloads folder or wherever else you saved them on your phone.

Jesse Hollington / Digital Trends
Step 4: Select the three-dot menu beside the ringtone you’d like to remove, choose Move to Trash, and confirm.

Jesse Hollington / Digital Trends