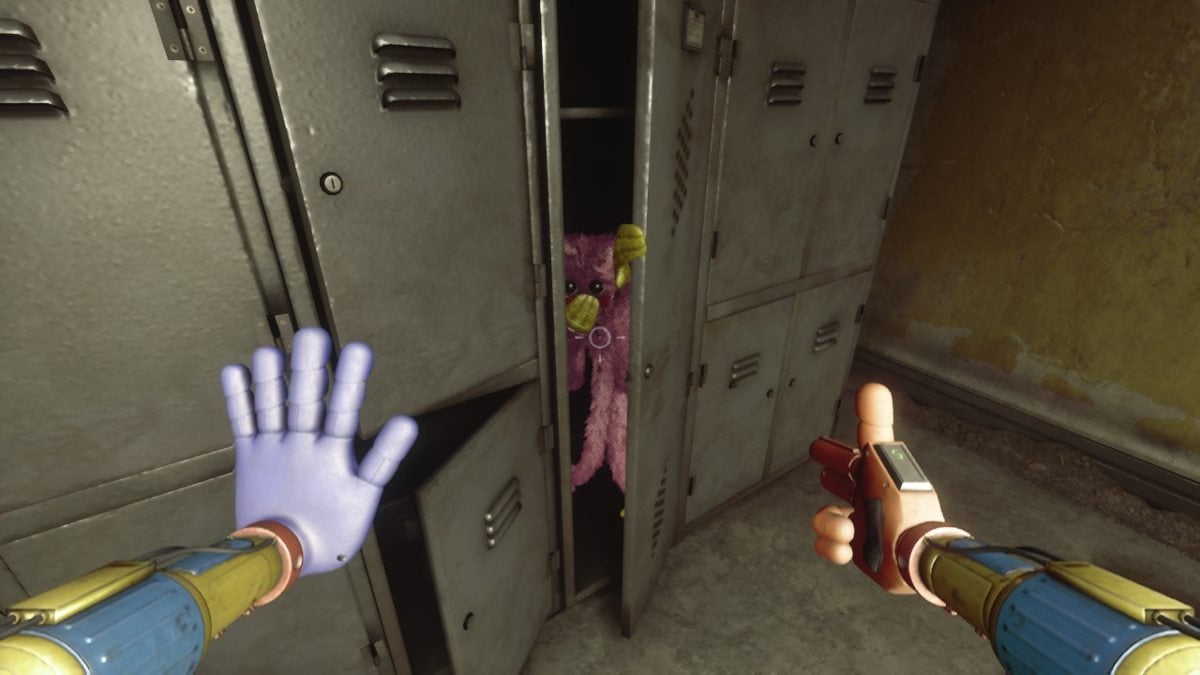
If you want to uncover Playtime’s darkest secrets, learn what happened to the newest additions in Poppy Playtime: Chapter 4, and indulge in this mascot horror’s latest lore—then you need to find every note this installment has to offer.
Here’s where to find all Notes in Poppy Playtime: Chapter 4. To make your life and collectible hunting a little easier, this list is shown in chronological order and will provide which objective is shown at the time of gathering each note.
You can load into any auto-save to pick up the note corresponding to its objective without overwriting your current save. But you cannot insert power cells or tablets to unlock doors on a reloaded auto-save.
This guide is a work in progress.
Poppy Playtime: Chapter 4 – All Note locations
Caution: Red Smoke
Objective: Investigate the Control Room.
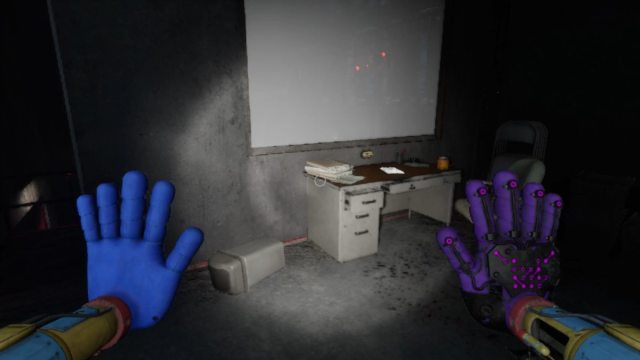
After unlocking the very first door in this chapter with the blue Grab-Pack hand, go into the first room on the left (the Foreman’s Office) in this long, narrow corridor. You will find the first note on the table with the words “their cruel kingdom” written in blood on the wall next to it.
Riley Journal: Entry #1
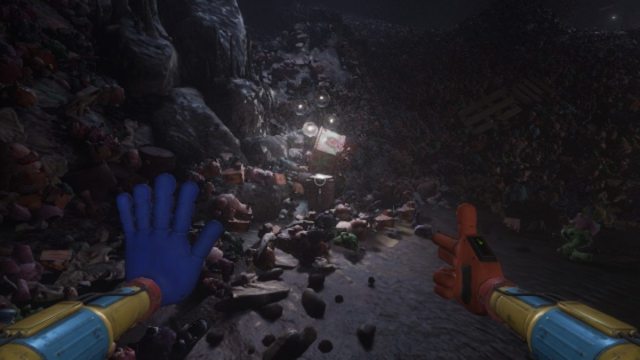
Objective: Find another way into the Prison.
As soon as you enter the Toy Graveyard head to the second set of lights along the linear path. This note is on top of the barrel, underneath a set of four circular lights where only one works.
Riley Journal: Entry #2
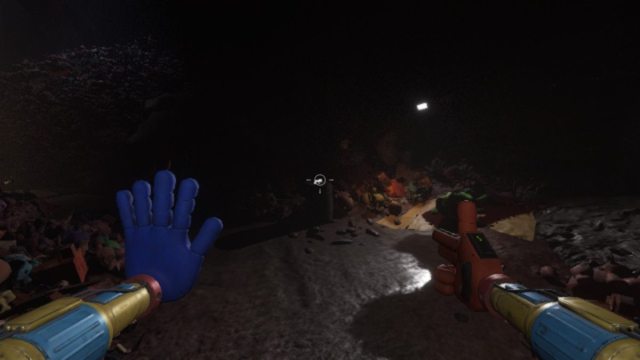
Objective: Find another way into the Prison.
Continue walking through the Toy Graveyard after picking up Riley’s first journal entry. Move onto the next flickering light where the note is on top of another barrel.
Riley Journal: Entry #3
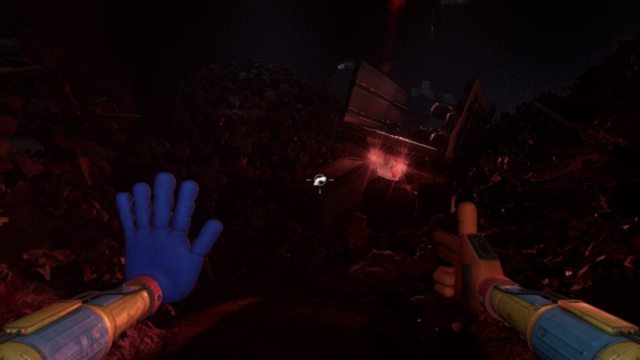
Objective: Find another way into the Prison.
When you get to the opening in the Toy Graveyard, the area will light up. Hug the right-hand side to avoid activating the Mini Huggies and Critters. Move across to the small path opposite the Prison entrance. You will find the note underneath the back of a truck.
Riley Journal: Entry #4

Objective: Find another way into the Prison.
Standing at the center of the clearing causes the giant flood lights on the Prison entrance to turn on. Be quick here as Mini Huggies and Nightmare Critters are about to ambush you. Walk to the left of the yellow tarpaulin on the ground to find the note on a wooden pallet.
Riley Journal: Entry #5
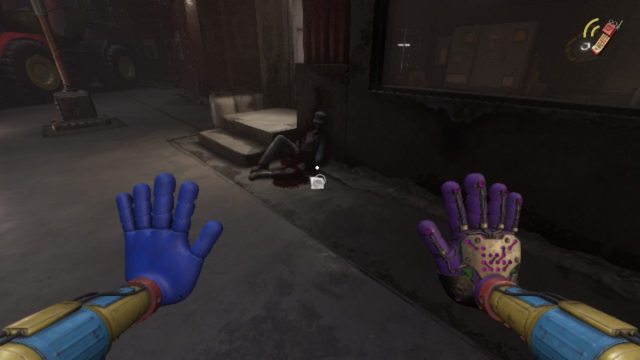
Objective: Find another way into the Prison.
This note is on the dead conductor in front of his office. You pick this up after climbing the massive pile of toys in the Loading Bay. The task in this section is to find the key to the Conductor’s Office and start the train to enter Playtime Prison.
Weekly Checkup: 1172
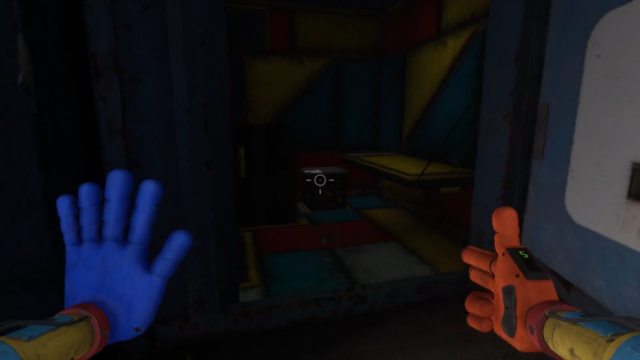
Objective: Escape the Prison.
After picking up the Omni-Hand (red Grab-Pack) and unlocking the first Cell Block door by inputting the code into the terminal, you go to the upper deck. Peer into the cell on the upper deck before walking through the giant red door with the alarm light activated above it. The door to this cell is already ajar, press “E” to open it fully. The note is inside this cell.
Cole Journal: Entry #1
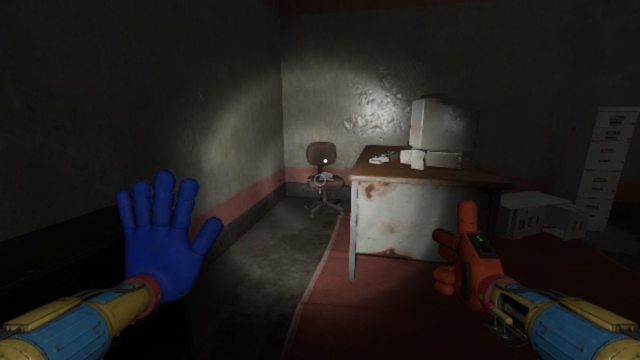
Objective: Escape the Prison.
Ollie calls you when you exit the first Cell Block. In this room where you need to use the red Grab-Pack to enter the second Cell Block, there’s a short corridor with two sets of doors on either side and a door with a strange lock mechanism at its end. Enter the room to the right of the door with the lock mechanism to find the note on the office chair.
Weekly Checkup: 1424
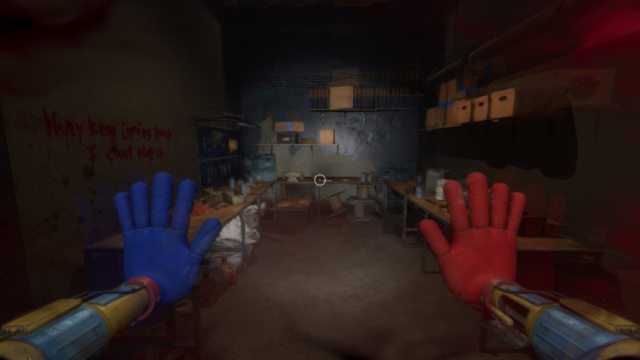
Objective:
The Cell Block quickly fills with Red Smoke where you need to find the valve to stop the gas. You need to go to the room on the lower deck, furthest away from where you started. Check the workshop tables directly in front of this room’s entrance before turning right to pick up the valve. The note is on here.
Prisoner Profile, Experiment 1166

Objective: Escape the Prison.
After solving the second Cell Block puzzle to clear the Red Smoke, you jump through the now broken window in the Control Room. Crouch underneath the shutter where a giant box is preventing the door from closing. The note is on the unit behind the box.
Prisoner Profile, Experiment 1163
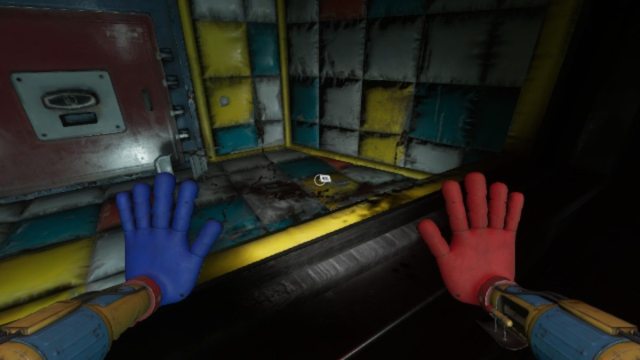
Objective: Escape the Prison.
In this Hub-like area, enter the cell observation room marked with “6” above it. The glass in this room is broken. Jump up and pick up Pianosaurus‘s note from this room.
Cole Journal: Entry #2
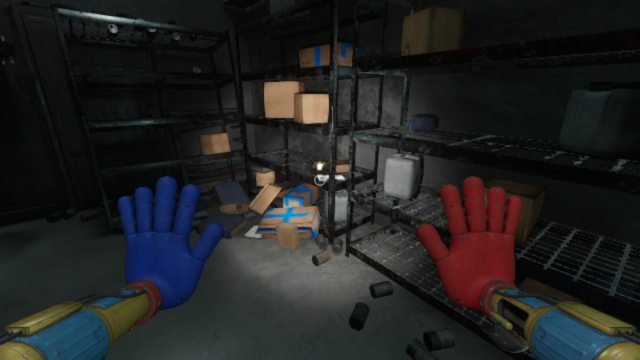
Objective: Avoid detection from Yarnaby.
You can pick this note off the unit when Doey distracts Yarnaby. This is when you’re meant to use the Grab-Pack to climb into the vent. The note is where Yarnaby was standing before Doey lures him away.
Cole Journal: Entry #3
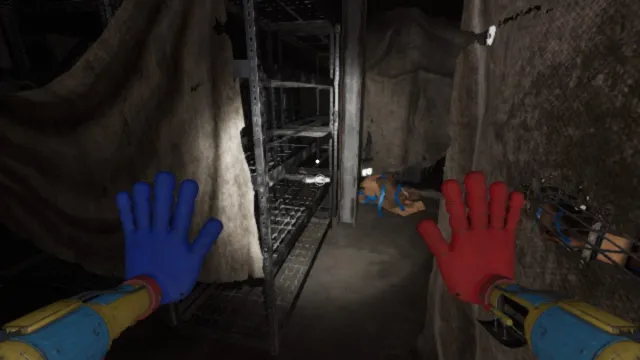
Objective: Avoid detection from Yarnaby.
After entering the second vent (in the room where you pick up The Doctor tape), you follow the linear route where you squeeze through a tight gap before Yarnaby starts to chase you. The note is in this room where you get a small breather before the short chase sequence.
Cole Journal: Entry #4
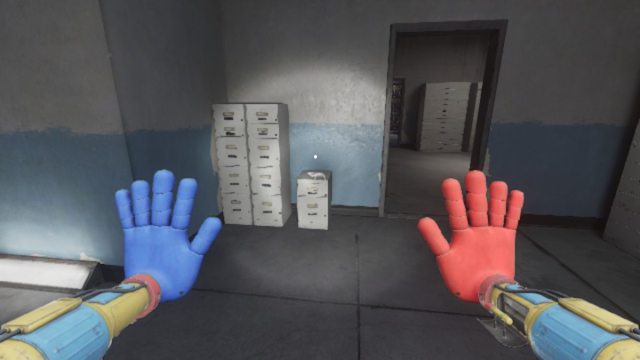
Objective: Avoid detection from Yarnaby.
After surviving the chase sequence against Yarnaby, you enter an office space. Go straight after jumping down from the ventilation shaft. Reach the end of this corridor and look at the final doorway. The note is on the filing cabinets.
Reconnaissance Report: 12.15.04
Objective: Catch up to Doey.
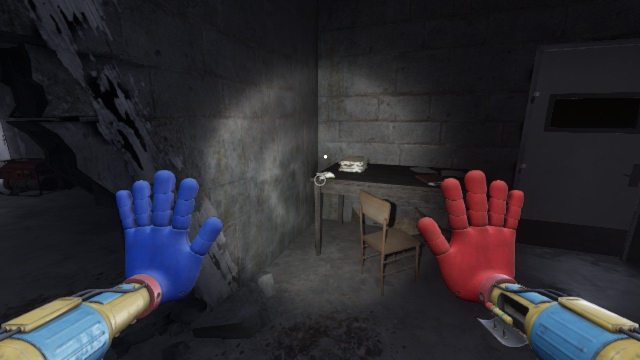
You need to catch up to Doey after escaping the Prison Yard by finding the three levers. Enter the first room on your right after walking through the Prison Yard doors. Now on the other side of the blockage, enter the next room and turn left, through the broken wall to find the note on the desk in this otherwise locked room.
A Cryptic Letter
Objective: Get to Safe Haven.
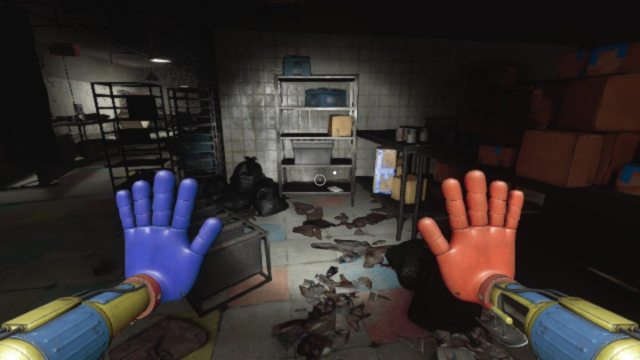
When you leave Doey and enter the kitchen (right before entering Safe Haven), you crouch underneath a knocked-over unit. Turn right immediately to find the note at the bottom of a metal unit, near a pile of trash bags. This is around the corner from the large, chained refrigerator you need to move by attaching a chain and finding its corresponding lever to move it.
Project Overview: Safe Haven
Objective: Find and defeat The Doctor.
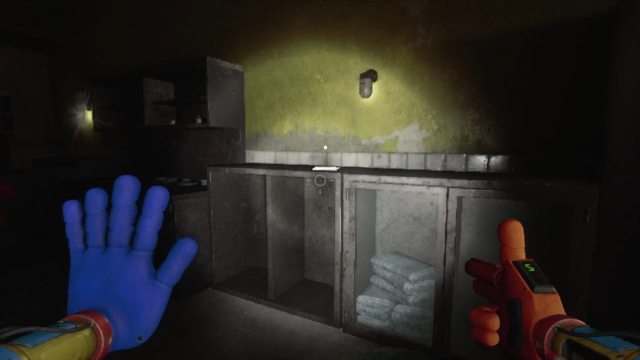
Enter the Infirmary when you arrive at Safe Haven. You can find the note on the right-hand side of this long room, between DayDog’s cut-out and a real (small version) of DayDog.
Subject 1322C Report
Objective: Find and defeat The Doctor.
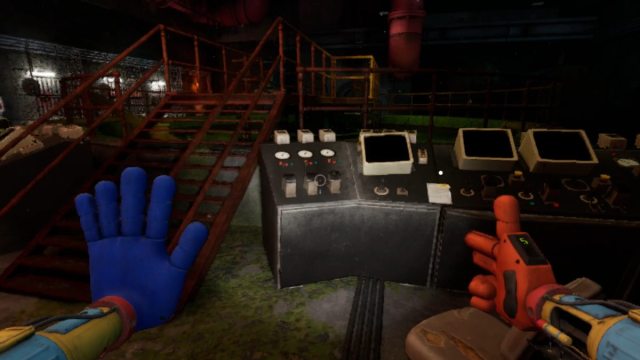
After listening to Poppy and Doey in the Sewers, you use an elevator to ascend into a large room with a mixer at its center. Exit the walkway above the mixer and turn left, looking at the control panel. The note is on here. This is the same room you pick up a tape about Experiment 1322.
Reconnaissance Report: 01.10.05

Objective: Find and defeat The Doctor.
In the large room where you need to activate the two pylons by using the train tracks, turn left as soon as you enter this area. The note is on the ground, underneath a makeshift tent, close to the entrance.
Propaganda Flier

Objective: Find a way out of No Man’s Land.
From the Exit door in No Man’s Land, head down the slope after activating the ramp. Turn right, away from the terminal that needs a keycard to work. Enter the room where the cable loops around a flight of stairs. There’s a small gap you can squeeze through, indicated by the white pull marks on the ground. Go through so you’re on the other side of a shutter. The note is on top of a container, next to a flood light.
Secondary Lab Instructions
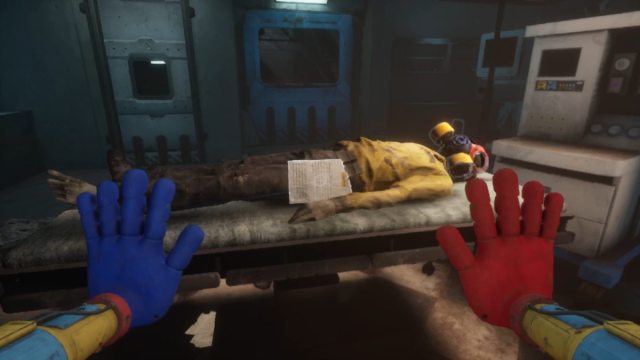
Objective: Make your way to The Doctor.
As soon as you enter the Secondary Labs, you can pick this note up off the corpse on the operating table.
Secondary Lab Mission Statement
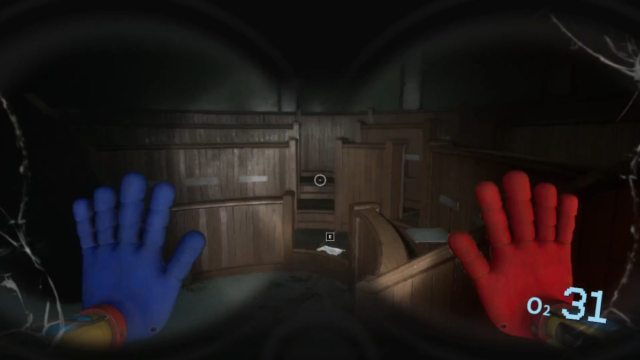
Objective: Make your way to The Doctor.
You need to locate the PJ Pug-A-Pillar body inside an Operating Room. Use the Grab-Pack to enter a nearby ventilation shaft to reach PJ. On the upper level of this room, check the circular seating area to find the note on the first step.
Young Geniuses Program Removal Letter
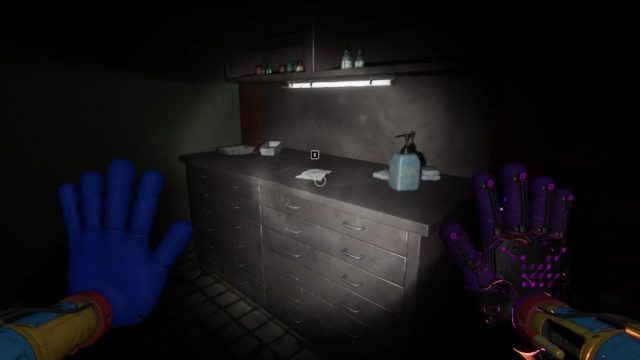
Objective: Confront The Doctor.
You need to find Harley Sawyer’s keycard in his domain (where the security bots patrol) to unlock the room above The Doctor’s head. This locked room is atop the staircase where you pick up the Omni-Tool and kill The Doctor. The note is on the left-hand side of this locked room.
An Untitled Poem
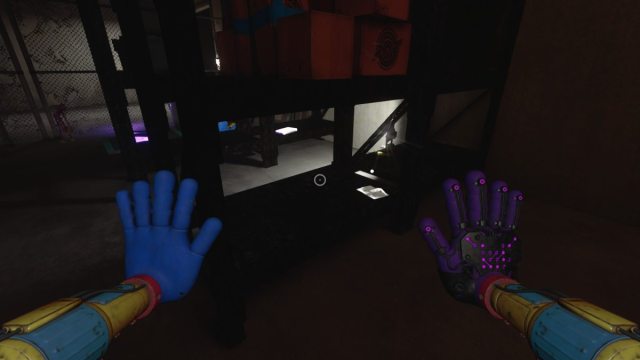
Objective: Return to Safe Haven.
When you return to Safe Haven you likely noticed you’re in a new area. Go into the small section enclosed by a wire fence. Use the Electric Grab-Pack hand (purple) to leap onto the upper platform. Pass the Mommy Long Legs toy on the walkway and drop down. Locate the Boxy-Boo toys and search the two aisles near it for a purple tape and the note on the units.
Foundation Operator Note
Objective: Find and plant (4) explosives.
You’re tasked to gather and plant (4) explosives when you enter the Foundation. Make your way into the tank storage room and enter the office that’s atop the broken red staircase. Use the two boxes nearby to climb up. You will find a Bubba Bubbaphant cut-out and the note on the desk inside this room.

